
 Aug 18,2026
 By:
By: Introduction
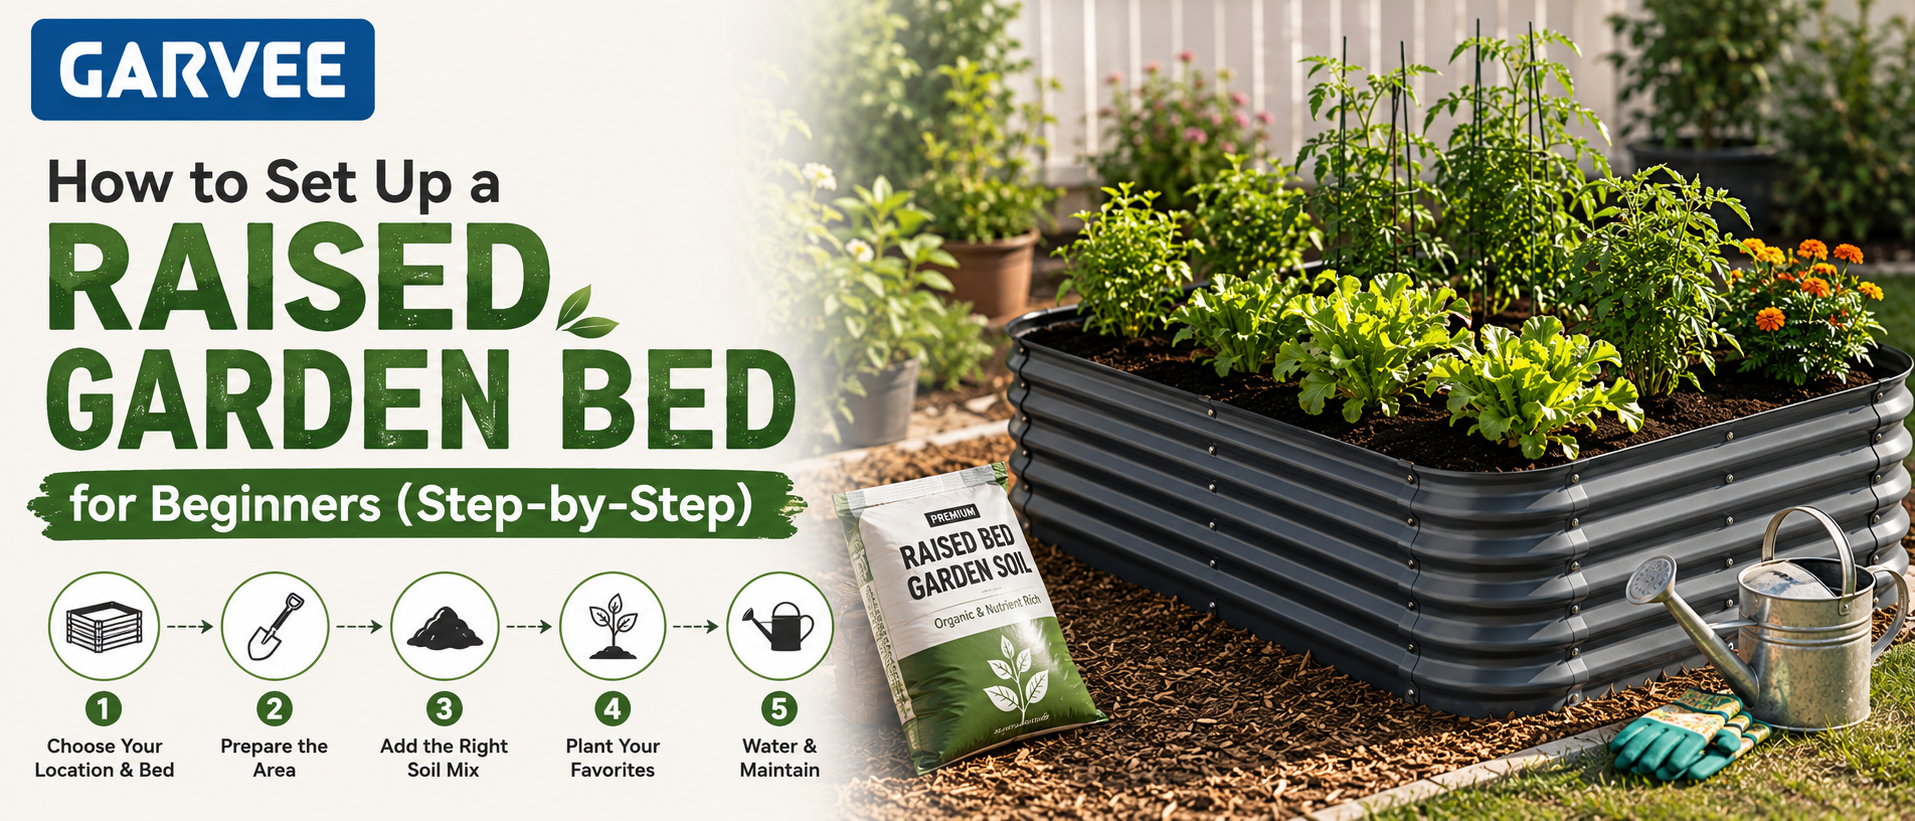
🪴 Build Your Dream GardenSo you want to grow your own tomatoes. Or maybe it's herbs, maybe it's a few rows of lettuce that actually survive past week two. Whatever pulled you here, you've probably landed on the same conclusion a lot of new gardeners reach eventually: the ground in your yard just isn't cooperating. Rocky, clay-heavy, full of roots from that old oak tree. That's exactly why learning how to set up raised garden bed systems has become the go-to solution for people who want control over their soil, their drainage, and honestly, their sanity.
A raised garden bed is nothing more than a bottomless box (or frame) filled with soil, sitting a few inches to a couple feet above ground level. Simple concept. But the way you build it, fill it, and place it makes the difference between a bed that thrives for a decade and one that rots apart by next spring. This guide walks through the whole process, from picking materials to planting your first seedling, with plenty of detour into the details that beginners usually miss. For quality gardening and outdoor solutions, Garvee offers a range of practical products to help make your gardening projects easier and more convenient.
Why Bother With a Raised Bed at All?
Good question. I asked myself the same thing the first time a neighbor suggested it. Turns out there are a handful of solid reasons.Raised beds warm up faster in spring, since the soil sits above ground and gets more direct sun exposure. That means an earlier planting season in most climates. They also drain better (assuming you don't overfill them with heavy clay, which, don't). And because you're building the soil from scratch, you sidestep whatever mess is already happening underground, contaminated soil, poor structure, weeds that have basically declared war on your yard.
There's also the ergonomic angle. Less bending. Less kneeling on wet ground pulling weeds until your knees hate you. For beginners especially, a beginner raised garden bed setup removes a lot of the guesswork that comes with in-ground gardening.
Step 1: Choosing the Right Location
Location matters more than most people expect going in. Most vegetables need six to eight hours of direct sunlight a day, so scope out your yard before you build anything. Watch it for a day or two if you can. Where does the sun actually hit by 10am? By 2pm? That patch that looks sunny in the morning might be shaded out completely by afternoon once the fence casts its shadow.Also think about water access. Nobody wants to lug a hose across the entire yard every evening. Somewhere near a spigot, or at least somewhere a hose reaches easily, saves a lot of frustration down the line.
And check the ground itself, even though you're building above it. A flat, level spot works best. If your yard slopes, you can still make it work, just expect a little extra effort leveling the base or adjusting the bed's legs.
Step 2: Picking Materials
This is where a lot of beginners get stuck, mostly because there are too many options and not enough clarity on which one actually makes sense.Wood Raised Garden Bed Ideas
Wood remains the most popular choice, and for good reason. It's affordable, easy to work with, and looks natural in most yards. Cedar and redwood are the gold standard because they resist rot naturally without chemical treatment. Pricier, sure, but they'll outlast pine by years. If the budget's tight, standard pine or fir works fine too, you'll just replace the boards sooner, maybe in five to seven years instead of fifteen.
Avoid pressure-treated wood unless it's specifically labeled safe for vegetable gardens. Older treated lumber contained arsenic compounds that can leach into soil. Newer treatments are generally considered safer, but if you're growing food, cedar or an untreated option is the safer bet anyway.
Beyond wood, you've got options like galvanized steel panels (durable, modern look, heats up more in direct sun though), concrete blocks (cheap, permanent, heavy to move later), and even repurposed materials like old bricks or stone.
Inexpensive Raised Garden Bed Ideas
If money's the main obstacle, there are cheaper paths in. Stacked cinder blocks need no fasteners at all, just stack and fill. Old wooden pallets, taken apart carefully, can be reassembled into a rough frame for next to nothing. Some people skip the frame entirely and use straw bales as the bed walls themselves, which decompose over a season or two but work surprisingly well in the meantime.
Even galvanized stock tanks, the kind meant for livestock, get repurposed into raised beds all the time. Drill some drainage holes in the bottom and you're set. Worth checking a local farm supply store or even Facebook Marketplace before buying new lumber.
Step 3: Building the Frame
Alright, tools and hands-on time. Here's the basic process for a standard wood frame.Materials needed: four boards (or more, depending on size), corner brackets or screws, a drill, a level, and stakes if you're securing it into the ground.
Most beginner beds run about 4 feet wide, since that lets you reach the center from either side without stepping into the soil (compaction is the enemy here). Length is up to you, 6 or 8 feet is common. Depth should be at least 6 inches, though 12 inches gives roots more room and works better for deeper-rooted vegetables like carrots or tomatoes.
Cut your boards to length, or have the hardware store do it, honestly that's what most people do, myself included. Screw the corners together using L-brackets for stability. If you're stacking multiple layers of boards for extra height, offset the seams so the structure holds together better, similar to how brick walls are laid.
Once assembled, set the frame in your chosen spot and check it's level. A slightly uneven bed isn't the end of the world, but water will pool on one side if it's too far off.
Step 4: Preparing the Ground Underneath
Here's a step people skip constantly, and regret it later. Before filling the bed, clear the ground beneath it. Remove grass and weeds, or at minimum, lay down cardboard or newspaper to smother what's underneath. This blocks weeds from pushing up into your fresh soil while it slowly breaks down and adds organic matter of its own.Some gardeners add a layer of hardware cloth at the very bottom too, mostly to keep burrowing critters like gophers from tunneling up into the bed. Worth the extra step if that's a known issue in your area.
Step 5: Filling With Soil, the Right Way
This is arguably the most important part of the whole process, and where a lot of beginner beds succeed or fail.Don't just dump bagged topsoil in and call it done. A layered approach gives your plants a much stronger foundation. Start with a base layer of coarse material near the bottom, sticks, leaves, even chunks of untreated wood. This is sometimes called hugelkultur, and it helps with drainage while slowly breaking down and feeding the soil above it over years.
On top of that, add your main soil mix. A good ratio is roughly 60% high quality topsoil, 30% organic compost, and 10% aeration material like perlite or coarse sand. The compost layer is non negotiable, honestly. It's what turns plain dirt into nutrient-rich soil that plants can actually thrive in, not just survive in.
Speaking of the compost layer, don't skimp on it. Compost feeds beneficial microbes, improves soil structure, and holds moisture without waterlogging roots. If you're making your own compost at home, great, mix it in generously. If you're buying it, look for bagged options labeled specifically for vegetable gardens rather than generic "garden soil," which is often mostly filler.
Fill the bed to about an inch below the top edge. Leave room, you'll want space for mulch later, and overfilled beds just spill soil everywhere the first time it rains hard.
Step 6: How to Set Up a Raised Garden Bed for Planting
Once the soil's settled (give it a day or two, water it lightly and watch it compact slightly), you're ready to plant. This final stretch of how to set up raised garden bed prep is honestly the fun part.Check your local frost dates before planting anything outdoors. Cool season crops like lettuce, spinach, and peas can go in a few weeks before the last frost. Warm season plants, tomatoes, peppers, squash, need the soil to actually warm up first, usually a couple weeks after the last frost date.
Space plants according to their mature size, not their current tiny seedling size. It's tempting to cram everything in close, but overcrowded beds compete for nutrients and airflow, which invites disease. A little restraint now saves headaches in August.
Water thoroughly after planting, then establish a regular watering schedule. Raised beds dry out faster than in-ground gardens, so check soil moisture every couple days during hot stretches, sticking a finger an inch or two into the soil works fine as a test.
How to Make a Raised Garden Bed Step by Step: Quick Recap
For anyone skimming (no judgment, we've all done it), here's the condensed version of how to make a raised garden bed step by step:- Pick a sunny, level spot with easy water access.
- Choose your materials, wood, cinder block, or something more budget friendly.
- Build or assemble the frame, at least 6 inches deep.
- Clear the ground underneath and add a weed barrier.
- Layer in coarse material, then a soil and compost mix.
- Let it settle, then plant according to season and spacing.
Maintaining Your Raised Bed Long Term
Building it is one thing. Keeping it productive year after year is another. Add fresh compost each season, since soil naturally loses nutrients as plants pull from it. Mulch helps retain moisture and suppress weeds, straw or shredded leaves both work well. And rotate what you plant where each year, growing the same crop in the same spot repeatedly depletes specific nutrients and can invite pests that target that plant.Wood frames will eventually need attention too. Check corners for rot every year or two, and replace boards as needed rather than waiting for the whole structure to collapse.
Final Thoughts
Setting up a raised garden bed isn't complicated, but it does reward a little patience and planning. Get the location right, choose materials that fit your budget and climate, and don't cut corners on the soil, that compost layer really does make the difference between a mediocre harvest and a genuinely productive one. Once you've gone through the process of how to set up raised garden bed systems for yourself, you'll probably wonder why you waited so long to try it. It's one of those projects that pays you back season after season, one tomato, one handful of basil, one stubborn zucchini at a time.For durable and practical raised garden bed options, explore Garvee's raised garden beds to find a setup that fits your outdoor growing space and gardening needs. Shop Garvee Raised Garden Beds.
Explore the world of fashion, beauty, lifestyle, and entertainment with Funandflip – your daily dose of trendy tips, style inspiration, and everything fun, fabulous, and fresh in one place!
🪴 Build Your Dream Garden
Read Our More Blogs
Decathlon Review: A One-Stop Shop For Sports, Fitness & Outdoor Gear
Scheels Review: Everything You Need To Know Before Shopping
MasterClass Subscription Deals: Best Discounts, Membership Offers & Coupon Codes
FAQs
1. How deep should a raised garden bed be for beginners?
Six inches is the minimum for shallow-rooted plants like lettuce or herbs, but 10 to 12 inches gives most vegetables, including tomatoes and peppers, enough room to develop a healthy root system without restriction.
2. Can I build a raised garden bed without wood?
Absolutely. Cinder blocks, stock tanks, stacked bricks, and even straw bales all work as alternatives. They're often part of the more inexpensive raised garden bed ideas beginners turn to when lumber prices are high.
3. Do I need to replace the soil in my raised bed every year?
Not entirely. Soil settles and loses nutrients over time, so topping it off with fresh compost each season is usually enough. A full soil replacement is rarely necessary unless there's a contamination or drainage issue.