Messing around with Arduino can lead to some fun projects — like simple electronic games, lighting or audio manipulation, or even gesture controls for other devices. However, you'll need the right tools for the job before you dive in. It will also help to have a grasp of how to read Arduino resistors, as they're important for controlling the current in an electrical circuit.
This is particularly important if your project uses LEDs, or is complex enough to otherwise require more precise voltage control. Too little and things probably won't work right, if at all (LEDs won't light up or will be too dim, etc). Too much and things probably won't work right and also might short out and create a fire risk.

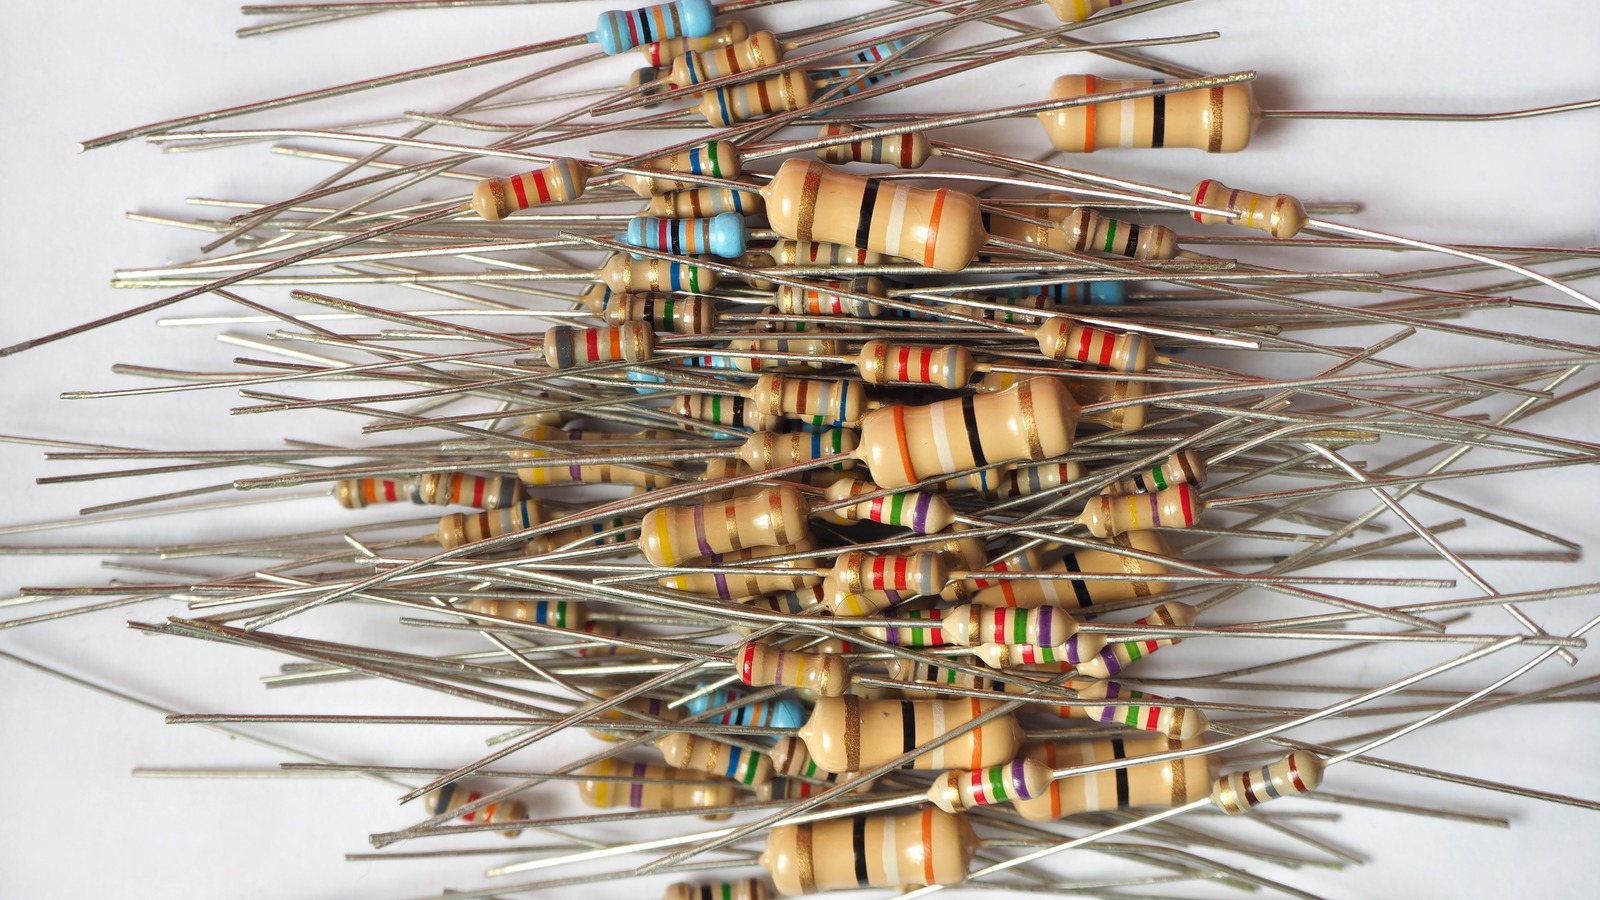
Resistor values are measured in Ohms, which indicates electrical resistance. A brand new, still-in-the-packaging resistor should have its Ohms value printed out for easy reading, but any resistors that have been unboxed (or, say, found in a toolbox or drawer) won't offer that luxury. This is where those colored bands on a resistor's body come into play.
As explained by Arduino to Go , each color band on the resistor corresponds to a number but this can differ depending on the band's placement. It's not complicated, but the sheer number of colors and how their placement can affect a resistor's Ohm value makes trying to memorize everything somewhat challenging. In essence (again, depending on placement): Silver and gold are the two exceptions to this pattern in that they don't rep.